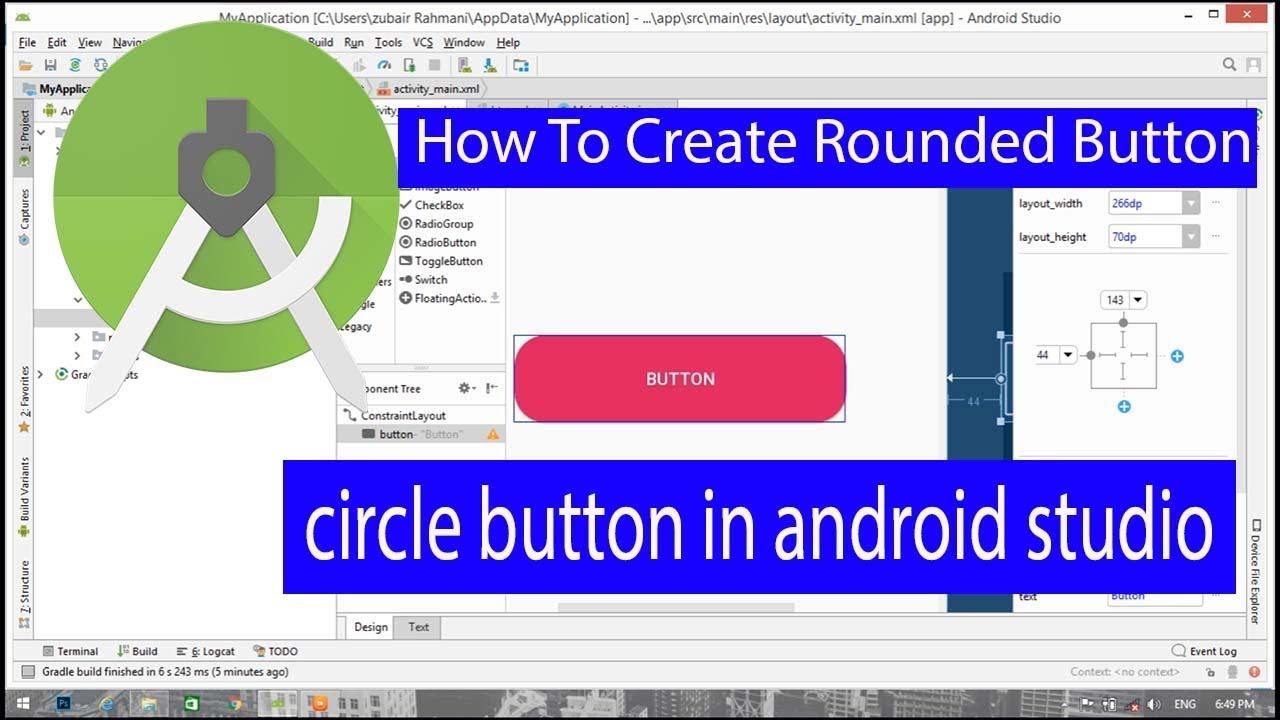
Creating a Round Button in Android Studio: A Step-by-Step Guide
Android Studio, the official Integrated Development Environment (IDE) for Android app development, is an incredibly powerful tool for building amazing Android apps. One of the many features it offers is the ability to create a wide range of buttons, each with its own unique style and functionality. In this tutorial, we will explore how to create a round button in Android Studio, giving your app a stylish and modern look.
To get started, launch Android Studio and create a new project. Select “Empty Activity” as the template and name your project. Once your project is created, open the main activity file (`MainActivity.java`) and create a button programmatically. You can do this by adding the following code:
“`java
Button button = new Button(this);
button.setText(“Round Button”);
button.setLayoutParams(new LinearLayout.LayoutParams(
LinearLayout.LayoutParams.WRAP_CONTENT,
LinearLayout.LayoutParams.WRAP_CONTENT));
button.setTextColor(Color.WHITE);
.button.setBackgroundColor(Color.parseColor(“#66D9EF”));
“`
This code creates a basic button with a white text color and a blue background color. However, this is not what we’re looking for. We want a round button, not a rectangular one.
To create a round button, you’ll need to use a `LinearLayout` and a `FrameLayout` inside your main layout file (`activity_main.xml`). Replace the existing code with the following:
“`xml
“`
The key to creating a round button is to set the `android:background` attribute of the `FrameLayout` to `?attr/selectableItemBackgroundBorderless`, which creates a circular selection item. This