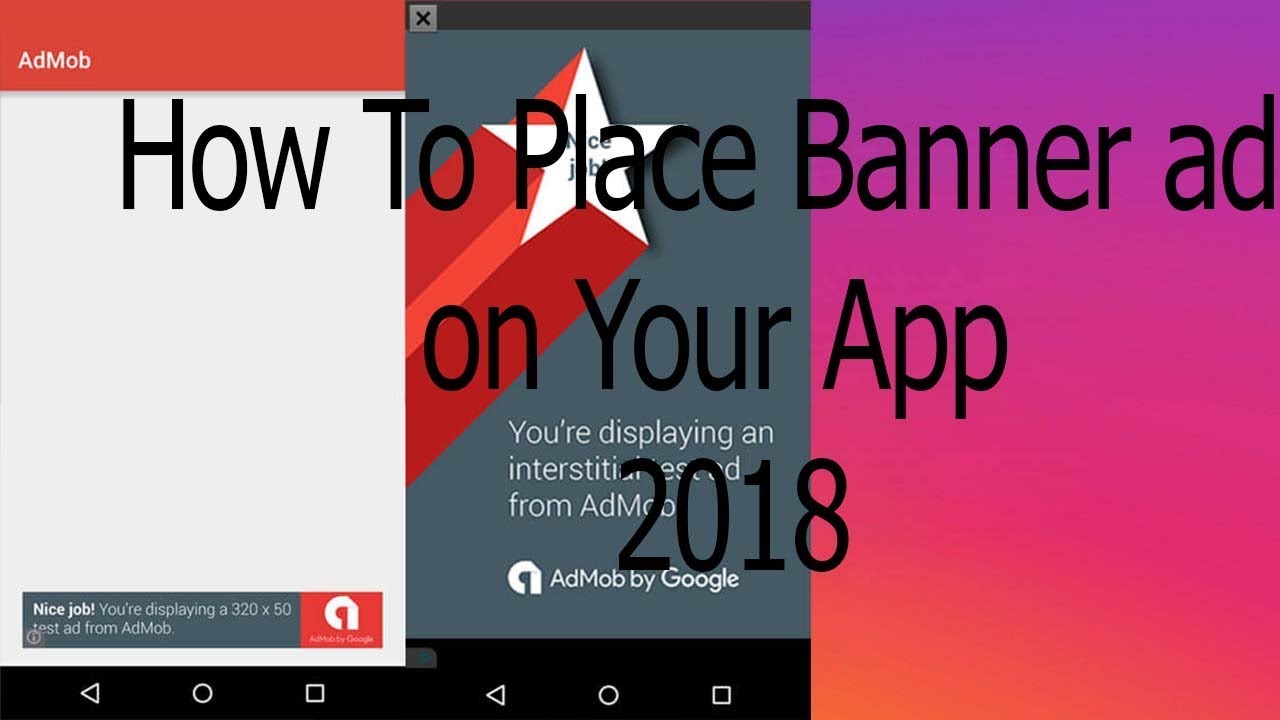
Adding AdMob Banner Ads in Android Studio
In this tutorial, we will learn how to add AdMob banner ads in Android Studio. AdMob is a service provided by Google that allows app developers to monetize their apps by displaying ads. This tutorial assumes that you have already set up your AdMob account and created a new project in Android Studio.
Step 1: Add the AdMob Library
To start, we need to add the AdMob library to our project. First, open the `build.gradle` file in the project’s root directory. Then, add the following dependencies:
“`
dependencies {
implementation ‘com.google.android.gms:play-services-ads:17.5.0’
}
“`
After adding the dependencies, synchronize the project by going to `File` > `Invalidate Caches / Restart` > `Invalidate and Restart`.
Step 2: Create a AdMob Layout File
Next, we need to create a layout file for our banner ad. In the `res` > `layout` folder, create a new file called `ad_layout.xml`. The content of this file should look like this:
“`xml
“`
Please replace `YOUR_AD_UNIT_ID_HERE` with your actual AdMob ad unit ID.
Step 3: Display the Ad
Now, we need to display the ad in our activity. Create a new Java class called `MainActivity.java`. The content of this file should look like this:
“`java
import android.os.Bundle;
import android.view.View;
import android.widget.ButterKnife;
import androidx.appcompat.app.AppCompatActivity;
import com.google.android.gms.ads.HeightPx;
import com.google.android.gms.ads.AdRequest;
import com.google.android.gms.ads.AdView;
public class MainActivity extends AppCompatActivity {
private AdView mAdView;
@Override
protected void onCreate

