Photoshop Remove Blemishes Scars 2018: A Step-by-Step Guide by Zubair Rahmani
In the world of digital photography, removing blemishes and scars has become a crucial part of photo editing. With the advancement of technology and software, it’s now possible to remove these imperfections from images with ease. One such powerful tool is Adobe Photoshop, which has been widely used by photographers and graphic designers to enhance their work.
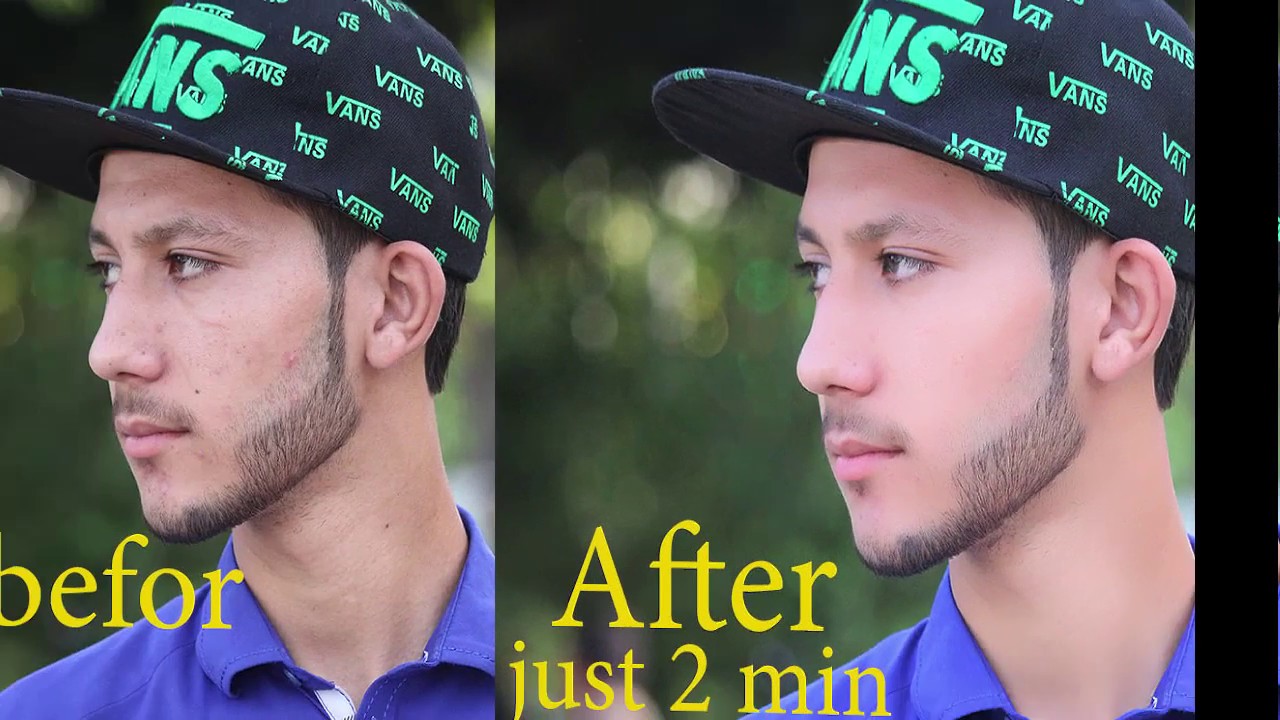
In this article, we’ll explore the process of removing blemishes and scars using Photoshop CC 2018. Our guide is based on a tutorial by Zubair Rahmani, a skilled photographer and Photoshop expert who has shared his technique online.
Step 1: Open the Image
To start the process, open the image that you want to edit in Photoshop CC 2018. This can be done by going to File > Open or by dragging and dropping the image into the software.
Step 2: Duplicate the Layer
Once the image is open, go to Layer > Duplicate Layer to create a copy of the original layer. This is necessary to preserve the integrity of the original image and to allow us to work on a duplicate layer. Name the new layer “Blemish Scars” to keep track of our edits.
Step 3: Select the Spot Healing Brush Tool
Next, select the Spot Healing Brush Tool from the toolbar or by pressing the letter “J” on your keyboard. This tool is specifically designed to remove small imperfections such as blemishes, scars, and wrinkles.
Step 4: Set Up the Brush
In the Options Bar at the top of the workspace, you’ll find the following settings:
* Mode: “Copy”
* Brush: “Soft Brush”
* Radius: 20 pixels
* Threshold: 10
These settings should be adjusted to your liking, taking into account the size and type of blemishes or scars you want to remove.
Step 5: Remove Blemishes Scars
With the Spot Healing Brush Tool selected and the desired settings in place, start removing blemishes and scars from the image. Click and drag the tool over the imperfections, and Photoshop will automatically replace them with surrounding textures.
Step 6: Save the Image
Once you’ve removed all the blemishes and scars, save the image as a new file by going to File > Save As. This will preserve your edits and allow you to work on other aspects of the image